The Daikin Zone Controller is designed to optimize HVAC system performance by controlling multiple zones independently. Proper installation ensures efficient temperature regulation and energy savings, while incorrect setup may lead to system inefficiency or malfunctions. This guide provides a comprehensive overview of the installation process, safety protocols, and best practices for a seamless setup.
1.1 Overview of the Daikin Zone Controller System
The Daikin Zone Controller System is a centralized control solution designed for managing multiple HVAC zones independently. It integrates seamlessly with Daikin fan coil units and split systems, enabling precise temperature control and energy efficiency. The system includes a controller unit, remote interfaces, and zone sensors, allowing users to customize settings for each area. Compatible with both wired and wireless configurations, it supports up to 8 zones, ensuring flexible operation. The controller also features advanced diagnostics and fault detection, making it a reliable choice for modern HVAC installations. Its user-friendly interface and compatibility with Daikin’s range of products ensure optimized performance and ease of use.
1.2 Importance of Proper Installation
Proper installation of the Daikin Zone Controller is critical to ensure optimal system performance, energy efficiency, and safety. Incorrect installation can lead to reduced system lifespan, increased energy consumption, and potential safety hazards. It is essential to follow the manufacturer’s guidelines to avoid issues such as refrigerant leaks or electrical malfunctions. Proper setup also ensures seamless communication between the controller and connected HVAC units, guaranteeing precise temperature control and zoned comfort. A well-installed system minimizes the risk of faults and enhances overall reliability, providing long-term comfort and energy savings for users.
Pre-Installation Requirements
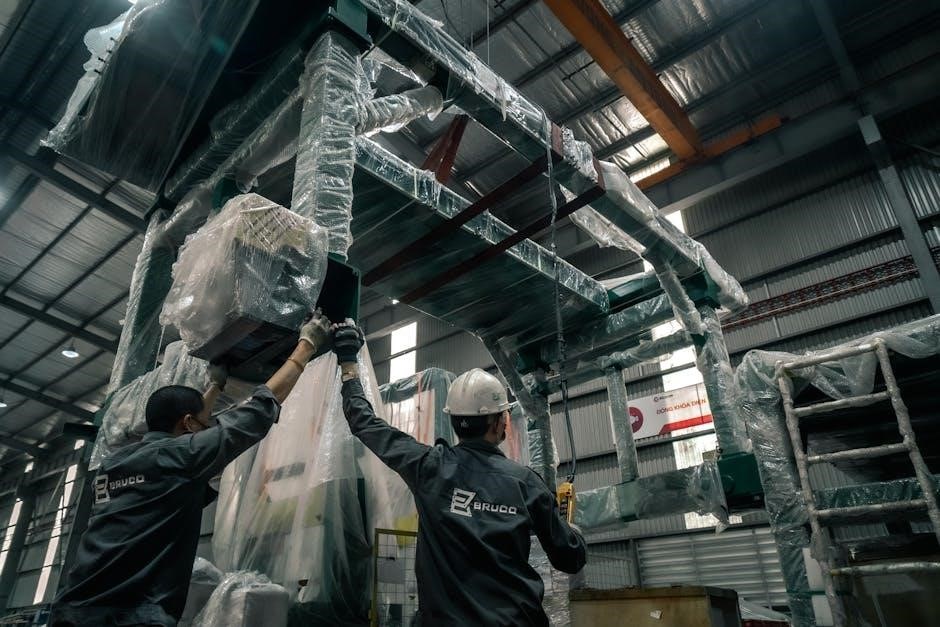
Before installing the Daikin Zone Controller, ensure compatibility with your HVAC system and gather necessary tools. Review safety guidelines to avoid risks during setup. Always follow the manual.
2.1 Tools and Materials Needed
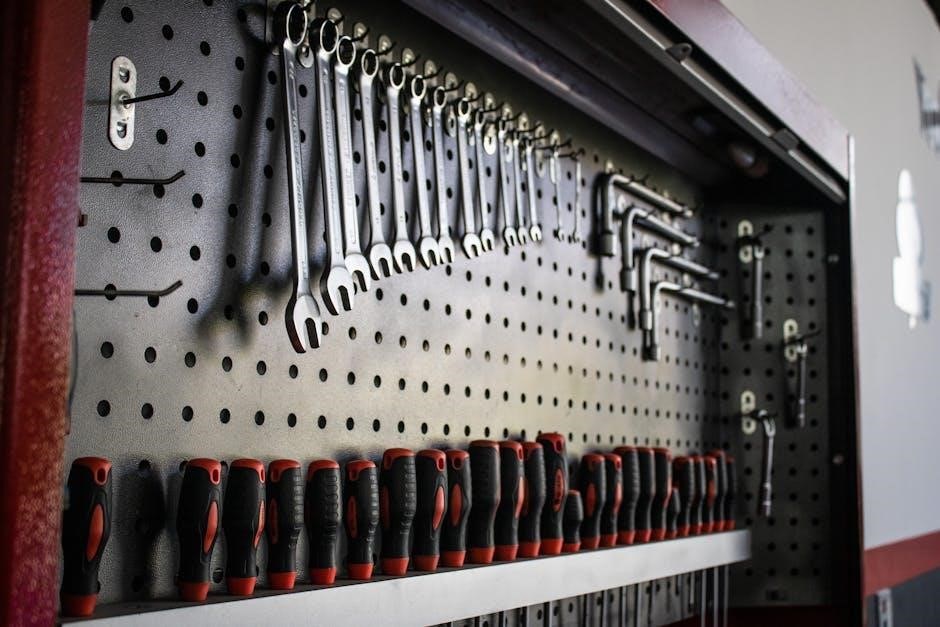
For a successful installation, gather essential tools and materials. These include screwdrivers (Phillips and flathead), pliers, wire strippers, and a multimeter for wiring checks. Ensure you have compatible wiring, connectors, and mounting hardware. Additionally, obtain a level for proper alignment and a drill with bits for wall penetration. Safety gear like gloves and goggles is crucial. Refer to the manual for specific Daikin-recommended tools to ensure compatibility and ease of installation. Organize all materials beforehand to streamline the process and minimize delays.
2.2 Safety Precautions
Always prioritize safety during installation. Disconnect power before starting work to avoid electric shock. Avoid installing the controller in wet conditions or direct sunlight. Never touch electrical components with wet hands. Use protective gear like gloves and goggles. Ensure proper ventilation in case of refrigerant leaks. Keep the area clear of flammable materials. Follow manufacturer guidelines for handling and wiring. Avoid bending or damaging cables during installation. Use a twisted pair for communication lines to prevent interference. Adhere to local electrical codes and safety standards to ensure a secure setup. Proper precautions prevent accidents and ensure system reliability.
2.3 Understanding the Controller’s Compatibility
Verify the controller’s compatibility with your HVAC system before installation. Ensure it supports your specific Daikin unit, such as fan coil or split systems. Check the model numbers, like BRC230Z4 or BRC24Z4, for compatibility. The controller must align with the system’s refrigerant type, such as R410A, and operating voltage. Refer to the installation manual for compatible models and configurations. Proper compatibility ensures seamless integration and optimal performance. Incompatible setups may lead to system malfunctions or reduced efficiency. Always cross-reference the controller with your HVAC unit to confirm compatibility and achieve desired functionality.
Installation Steps
Follow a step-by-step process to install the Daikin Zone Controller, including mounting, wiring, and configuring zones. Ensure all connections are secure and test the system post-installation.
3.1 Mounting the Zone Controller
Mount the Daikin Zone Controller in a dry, stable location, ensuring proper alignment and accessibility. Choose a spot away from direct sunlight and moisture to prevent damage. Use the provided mounting hardware to secure the controller firmly to the wall or surface; Ensure the unit is level and the front is unobstructed for maintenance; If installing near a conditioner, position it on either the left or right side as specified. Avoid wet locations or areas with high humidity. Follow the manual’s guidelines for spacing and ventilation to ensure optimal performance and longevity of the controller.
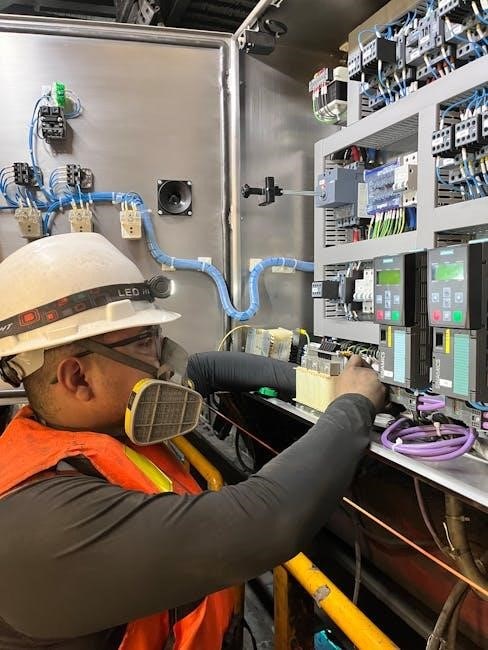
3.2 Wiring and Connections
Connect the Daikin Zone Controller to the HVAC system using shielded twisted pair cables for communication lines to minimize interference. Ensure all wiring adheres to safety standards and local regulations. Secure connections tightly to prevent loose contacts, which can cause malfunctions. Refer to the installation manual for specific wiring diagrams and pin configurations. Power supply connections must be correctly matched to avoid damage. Use appropriate tools to strip and connect wires neatly. Double-check all connections before powering up the system to ensure proper communication between the controller and HVAC units. Proper wiring ensures reliable system operation and prevents potential faults. Follow the manual’s detailed instructions for a smooth setup.
3.3 Configuring Zone Settings
After installation, configure zone settings to optimize performance. Use the remote controller to select zones, with LEDs indicating active zones. Set temperature preferences and operation modes for each zone independently. Program schedules to align with occupancy patterns for energy efficiency. Adjust settings to balance comfort and energy use. Ensure compatibility with connected HVAC units by following manual guidelines. Regularly review and update zone configurations to maintain optimal system operation. Proper configuration enhances control over environmental conditions, ensuring maximum comfort and efficiency across all zones. Refer to the manual for detailed steps to customize zone settings effectively.
Operation and Control
The Daikin Zone Controller operates via a remote control, allowing users to regulate temperature, select zones, and set schedules. LEDs indicate active zones, simplifying management and ensuring efficiency;
4.1 Understanding Operation Modes
The Daikin Zone Controller features multiple operation modes, including heating, cooling, fan-only, and energy-saving modes. Each mode is accessible via the remote controller, with LED indicators showing the active mode. Heating mode provides consistent warmth, while cooling mode maintains desired temperatures. Fan-only mode circulates air without heating or cooling, optimizing energy use. Energy-saving mode adjusts settings to reduce consumption. Understanding these modes ensures efficient system operation, tailored to specific comfort and energy needs. Proper mode selection enhances performance and user satisfaction.
4.2 Using the Remote Controller
The Daikin Zone Controller remote allows users to easily manage their HVAC system. Select desired zones using the zone selection buttons, with LEDs indicating active zones. Adjust temperature, fan speed, and operation modes via intuitive controls. The remote also provides access to advanced settings like scheduling and energy-saving features. Ensure the remote is used in a dry environment and avoid exposing it to direct sunlight. Regularly check battery levels for uninterrupted operation. By mastering the remote’s functions, users can optimize comfort and energy efficiency effortlessly. Always refer to the installation manual for detailed remote operation guidelines.
4.3 Setting Up Schedules
Scheduling enhances energy efficiency and comfort by automating HVAC operations. Use the remote controller to program temperature and mode settings for specific times. Set daily or weekly schedules to align with occupancy patterns. Enable energy-saving modes during off-peak hours. Review and adjust schedules via the controller’s interface. Ensure schedules are synchronized with your lifestyle for optimal performance. Refer to the installation manual for detailed steps on configuring advanced scheduling options. Proper scheduling ensures consistent comfort while minimizing energy consumption, making it a key feature of the Daikin Zone Controller system.

Maintenance and Troubleshooting
Regular maintenance ensures optimal performance and extends system lifespan. Inspect wiring, clean filters, and update software. Address fault codes promptly using diagnostic tools. Troubleshoot common issues like sensor malfunctions or communication errors to maintain efficiency and comfort.
5.1 Regular Maintenance Tips
Regular maintenance is crucial for ensuring the Daikin Zone Controller operates efficiently. Clean or replace air filters monthly to prevent dust buildup. Inspect wiring connections to avoid signal interference. Check sensors for accuracy and ensure proper calibration. Update firmware periodically to access new features and improvements. Keep the controller away from direct sunlight and moisture to prevent damage. Test zone operations monthly to identify potential issues early. Refer to the installation manual for specific maintenance schedules and procedures; Proper upkeep ensures reliable performance, energy efficiency, and extended system lifespan, while also preventing unexpected breakdowns.
5.2 Common Issues and Solutions
Common issues with Daikin Zone Controllers include faulty wiring, sensor inaccuracies, and zone configuration errors. To resolve these, inspect wiring connections and ensure they are secure. For sensor issues, recalibrate or replace faulty sensors. Zone configuration errors can often be fixed by resetting the system or reprogramming settings. If the remote controller malfunctions, check for battery issues or signal interference. Firmware updates may also address software-related problems. Refer to the installation manual for detailed troubleshooting steps. Addressing these issues promptly ensures smooth operation and maintains system efficiency, preventing downtime and optimizing performance across all zones.
5.3 Fault Codes and Diagnostic Procedures
The Daikin Zone Controller may display fault codes indicating specific issues. These codes, such as “E1” or “E2,” correspond to problems like sensor malfunctions or communication errors. Refer to the installation manual for code meanings. Diagnostic procedures include checking wiring connections, ensuring sensors are clean, and verifying system communication. Restarting the controller or resetting zones may resolve minor issues. If problems persist, consult a professional technician. Understanding fault codes and following proper diagnostic steps ensures timely resolution and maintains system efficiency. Always follow safety guidelines during troubleshooting to avoid further damage or safety hazards. Regular diagnostics prevent unexpected system failures.
Advanced Features and Customization
The Daikin Zone Controller offers advanced features like energy efficiency optimization, smart system integration, and customizable zone settings; Users can program energy-saving modes and schedules via the remote.
6.1 Integrating with Other Systems
Integrating the Daikin Zone Controller with other systems enhances functionality. Compatibility with Daikin’s VRV and HRV systems allows seamless operation. It can also connect to central controllers for coordinated ventilation and temperature control. Additionally, the controller supports communication with building management systems (BMS) via interfaces, enabling centralized monitoring. Proper shielding of communication wires ensures reliable data transmission. This integration capability makes the Daikin Zone Controller a versatile solution for modern HVAC setups, ensuring efficient and synchronized system performance across various applications. Always follow the installation manual for specific integration guidelines to avoid compatibility issues.
6.2 Customizing Zone Control Settings
Customizing zone control settings allows tailored temperature and airflow preferences for each zone. Users can select specific zones using the remote controller, with LEDs indicating active zones. Adjusting settings ensures optimal comfort and energy efficiency. Advanced features enable scheduling and mode customization. Refer to the installation manual for detailed steps on configuring zone preferences and ensuring proper system operation. This customization enhances the overall performance of the Daikin Zone Controller, making it adaptable to diverse HVAC needs and user preferences. Always follow guidelines to maintain system functionality and efficiency.
6.3 Energy Efficiency Optimization
Energy efficiency optimization with the Daikin Zone Controller involves tailored settings to minimize energy consumption while maintaining comfort. Users can program schedules to align with occupancy patterns, reducing unnecessary operation. Advanced features allow zoning adjustments, ensuring energy is used only where needed. Diagnostic tools help identify inefficiencies, enabling prompt corrections. Proper installation and configuration, as outlined in the manual, are crucial for maximizing energy savings. By customizing zone settings and leveraging smart controls, users can achieve optimal energy efficiency, lowering utility costs without compromising performance or comfort.
Proper installation and configuration of the Daikin Zone Controller ensure optimal performance, energy efficiency, and comfort. By following the guidelines outlined in this manual, users can maximize system functionality while minimizing energy consumption. Regular maintenance and troubleshooting will extend the controller’s lifespan and prevent issues. Always refer to the manual for specific instructions, and ensure safety precautions are adhered to during installation and operation. With correct setup and care, the Daikin Zone Controller will provide reliable and efficient temperature control for years to come, enhancing overall HVAC system performance and user satisfaction.